As an Amazon Associate, we earn from qualifying purchases. Some links may be affiliate links at no extra cost to you. Although our opinions are based on curated research, we haven't used these products. Articles generated with AI.

Restoring Gelcoat: A Guide for Boat Owners
Restoring your boat’s gelcoat isn’t rocket science, but it does take a bit of elbow grease and know-how. Start by checking for dullness, cracks, or oxidation—these are signs your gelcoat needs some love. Clean it gently with mild soap, then sand lightly if needed before applying polish and protective wax to bring back that shine and safeguard against sun damage. Got a bit more stubborn staining or scratches? Don’t worry, there are specialized tools and kits to tackle those. Ready to keep your hull gleaming season after season? Let’s walk through the key steps together.
Key Takeaways
- Inspect gelcoat for fading, scratches, blisters, and oxidation by visual and water bead tests before restoration.
- Clean surface thoroughly with mild soap and soft brushes, then dry immediately to prevent water spots.
- Sand damaged areas gently and mask edges to prepare for gelcoat repair or application.
- Polish restored gelcoat using circular motions with quality microfiber towels and synthetic polishing pads for a glossy finish.
- Establish a routine maintenance plan including monthly washing, quarterly inspections, and seasonal waxing to protect and prolong gelcoat life.
Assessing Gelcoat Condition Before Restoration
You may be interested

Where do we even start when checking your boat’s gelcoat before restoration? First, our gelcoat assessment begins with a careful visual inspection—looking for chalky dullness or faded spots that shout oxidation. We’re also on the lookout for discoloration and gloss loss, classic signs of pesky UV damage. Next comes damage identification: scratches, spider cracks, blisters, even peeling—all telltale warnings our boat’s had a rough time. Don’t forget to run your hand over the surface; texture changes can reveal hidden trouble like pitting or bubbles. A quick water test helps, too—if water beads up nicely, all’s well; if it just sits there, we’ve got oxidation issues. Together, these steps let us map out exactly where restoration is needed, so our boat gets the care it truly deserves.
Preparing the Surface and Gathering Supplies
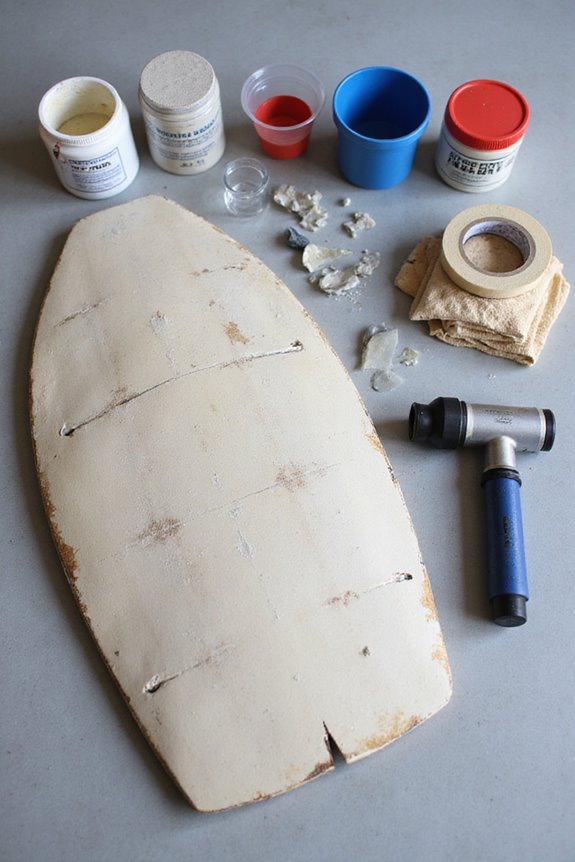
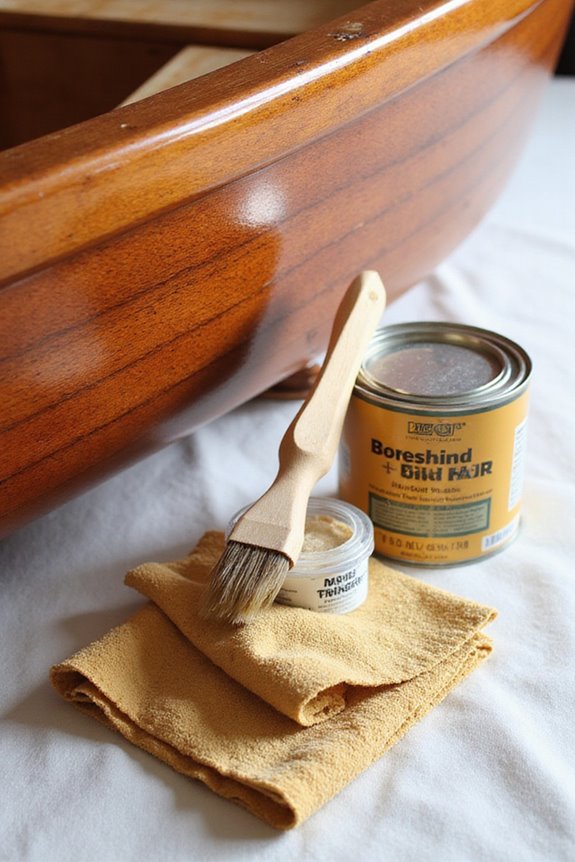
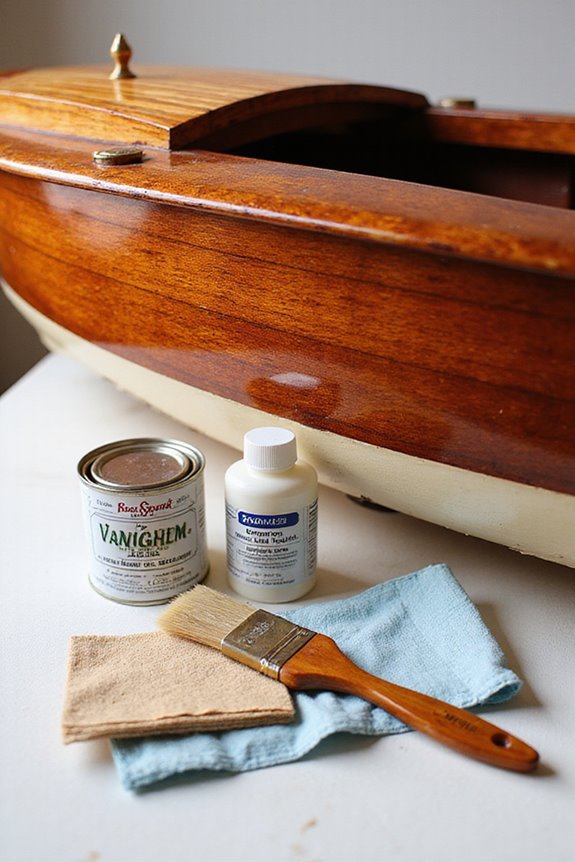
After sizing up your gelcoat’s condition, the next step is getting that surface ready for restoration—and gathering the right tools to make it happen. A thorough surface inspection helps us identify damaged spots needing sanding, cleaning, or even shaping with a V-notch for better bonding. For material sourcing, we want quality microfiber rags, wet/dry sandpaper in various grits, acetone or MEK for dewaxing, and a reliable polyester gelcoat repair kit. Don’t forget protective gear like gloves and splash-proof goggles—safety first! Masking tape will help us neatly define repair edges, while mixing cups, sticks, and applicators prepare us for smooth gelcoat application. Think of this as prepping a canvas; skip these steps, and your masterpiece might just peel away! Ready to roll?

Premium Grade Polyester Resin White Gel Coat: This Fiberglass Warehouse unwaxed white gelcoat is made with the highest quality modified polyester resin, providing enhanced flexibility and strength as opposed to classic orthophthalic polyester gelcoats. An excellent choice for professional boat builders and boat maintenance services!

Premium Grade Polyester Resin White Gelcoat: This Fiberglass Warehouse white gelcoat is made with the highest quality modified ISO NPG polyester resin, providing enhanced flexibility and strength as opposed to classic orthophthalic polyester gelcoats. An excellent choice for professional boat builders and boat maintenance services!

Premium Epoxy: SB-112 is a solvent and blush-free two part epoxy system that excels as a primer/tie coat for polyester resin materials; MetlWeld epoxy resin cures to an opaque, gray appearance
Cleaning Techniques to Remove Dirt and Wax
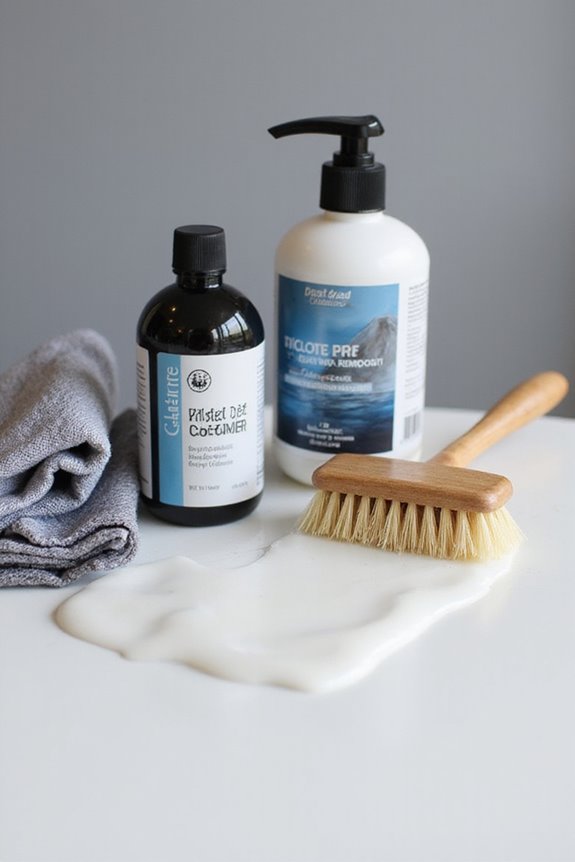
Cleaning your boat’s gelcoat might sound straightforward, but getting rid of dirt and stubborn wax takes a bit of know-how—and the right touch. First off, choosing gentle cleaning agents like mild dish soap helps break down grime without harming that glossy finish we all love. Mix a diluted solution to maximize suds and protect the gelcoat. Then, armed with soft bristle brushes and microfiber towels—our trusty manual techniques—we carefully scrub in gentle circles to avoid pesky scratches. Got wax residue? Warm water combined with mild detergent usually does the trick; for really stubborn spots, safe degreasers step in. Remember, pre-rinsing removes loose grit, keeping our gelcoat scratch-free. After cleaning, immediate drying with microfiber towels prevents water spots, letting us spot anything that needs another pass. Ready for the next step?
Methods for Eliminating Oxidation and Stains
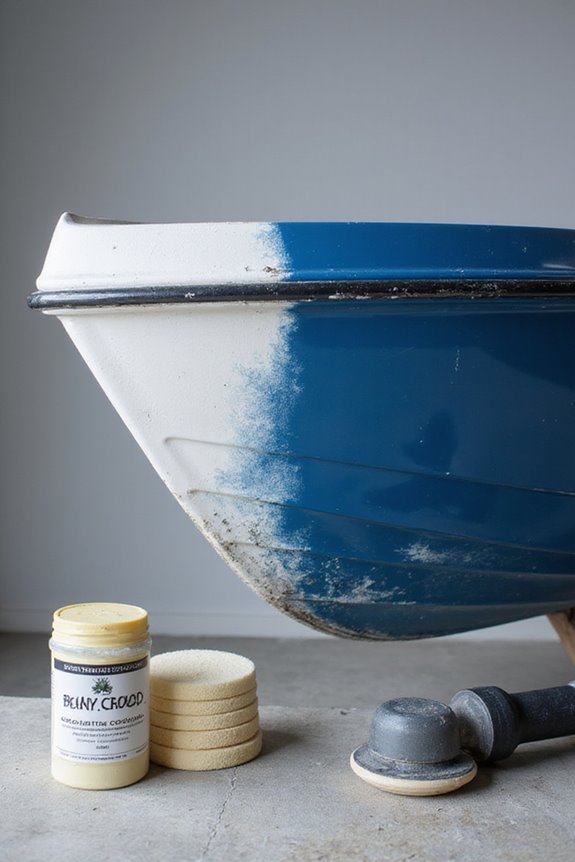
Oxidation and stains are like uninvited guests on your boat’s gelcoat, slowly dulling its shine and making it look older than it really is. Understanding oxidation causes — mainly sunlight, water, and weather — helps us tackle this problem head-on. For stubborn oxidation, we use techniques like wet sanding and applying compounds with wool pads, sometimes backed by specialized chemicals like oxalic acid-based Poli Ox. Stains, especially around the waterline, can be pesky; rust and yellowing often need elbow grease combined with stain-specific removers. Prevention’s key, right? Regular cleaning and protective wax layers help stop stains from returning and slow oxidation’s advance. So, shall we roll up our sleeves together and give our boats the bright, smooth glow they deserve?

USE WHAT THE PROS USE – Restore heavily oxidized gelcoat into smooth surfaces ready for polish so you can get back on the water or the road

POWERFUL SURFACE RESTORATION – High-performance buff magic compound removes oxidation, stains, and imperfections for a deep, showroom-quality finish on multiple surfaces.

PROFESSIONALS CHOICE: This body shop and car detailing favorite gives you fast cutting action and extreme gloss finishing by simply changing buffing pads. A wool pad will cut the fastest, then foam cutting pad, then switching to foam finishing pads to remove all fine car scratches for that showroom shine. Polish by hand for a fast paint scratch remover
Polishing for Restored Shine and Smoothness

Now that we’ve tackled those stubborn stains and oxidation, it’s time to bring out the shine and smoothness your gelcoat deserves. Polishing techniques are key—applying gelcoat products in small sections using a circular motion guarantees even coverage without streaks. Whether you prefer hand buffing or a low-speed polisher, remember: patience pays off. Don’t forget quality microfibre towels—nothing kills a shine faster than stray fibers! Synthetic pads paired with gentle but effective polishes, like Presta Chroma 1500, can really restore that showroom glow. And hey, precision matters—nooks and crannies deserve some love too. So, ready to make your boat gleam like new? With the right tools and a bit of elbow grease, that polished finish isn’t just a dream, it’s your next achievement on the water.

New Gear Technology: Meticulously designed to reduce noise levels during polishing operations; focuses on reducing vibrations to deliver exceptional stability and precision which enables you to maintain complete control when polishing

New Gear Technology: Meticulously designed to reduce noise levels during polishing operations; focuses on reducing vibrations to deliver exceptional stability and precision which enables you to maintain complete control when polishing

Effortless Polishing & Sanding - Achieve a flawless finish on cars, boats, and gelcoat surfaces with precision variable speed control 500-1,500 RPM for every detailing task.
Applying Protective Wax and Sealants
A good layer of protective wax or sealant can make all the difference in keeping your gelcoat looking sharp and guarding it against the sun, salt, and water damage. When choosing wax types, consider paste, liquid, or spray wax—each offers different ease of use and finish quality. Don’t forget, waxes with UV protectants are especially helpful to shield your boat from those harsh rays. Sealant benefits include longer-lasting protection and better resistance to water intrusion. Before applying, make sure the surface is clean and dry. Use circular motions with a clean applicator pad to spread the wax evenly, then let it haze before buffing off with a microfiber towel. Who doesn’t want a slick, glossy finish that stays durable through every outing?


PROTECT AND ENHANCE GEL COAT OR PAING: Our marine ceramic coating adds a nano-ceramic protective layer to the surface of your boat. Protects against oxidation, corrosion, UV, and harsh chemicals, while also restoring color, gloss and surface hardness.

🛥️ QUICK GELCOAT REPAIRS - Need to repair scratches or gouges on your boat's finish? This isophthalic NPG gelcoat solution is perfect for building and repairing damaged fiberglass boat surfaces.
Using Specialized Tools and Techniques
Getting ready to tackle gelcoat restoration means arming ourselves with the right tools and techniques—because trust me, using the proper gear can make all the difference. Specialized buffing tools like rotary buffers fitted with wool or foam pads help us remove oxidation and fine scratches efficiently. Have you tried polishing compounds tailored for fiberglass? They work wonders in bringing back that smooth, glossy finish we all crave. Using orbital polishers keeps swirl marks in check, while drill-mounted attachments handle those tight spots. Of course, safety gear isn’t optional—goggles and gloves keep us protected as we work. By combining these specialized buffing methods with high-quality polishing compounds, we make restoring gelcoat less of a chore and more a rewarding craft. Ready to shine up that boat?

SAFE AND ACCESSIBLE DESIGN: Designed with a wide, easy-to-open door, ADA-compliant contoured seating, a low entry threshold, slip-resistant textured flooring, and a built-in Safe Reach grab bar to provide secure and effortless access for users of all abilities.

Quick Fill Faucet Set: Equipped with a 60" extendable handheld Euro-Grip shower head, this bathtub ensures rapid filling for maximum convenience.
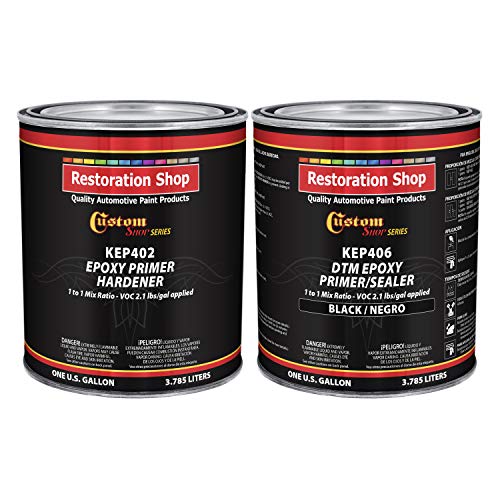
Custom Shop – KEP Series Anti-Corrosive Epoxy Primer / Sealer is a 1 to 1 Mix Ratio high performance primer specifically designed to be used DTM (Direct to Metal). KEP Series Primer contains an advanced resin technology system that offers superior adhesion to Bare Metal, Steel, Bare Aluminum, Fiberglass, Gelcoat. Body Fillers and most properly prepared Rigid Plastics and sanded OEM Finishes.
Establishing a Routine Maintenance Plan
Taking care of our gelcoat doesn’t stop after a solid buff and polish session; it’s really about keeping up with a smart, routine maintenance plan that protects our boat all year long. How often should we jump in? Maintenance frequency matters—monthly washing, quarterly hull inspections, and seasonal waxing keep things shipshape. Task prioritization helps, too; for example, waxing prevents oxidation and preserves shine, so it deserves a top spot. Using gentle cleaners and soft tools means we won’t scratch the gelcoat while removing grime. Don’t forget annual checks like lubricating zippers and a thorough gelcoat evaluation to catch small issues early. Keeping a log can help us track progress. After all, routine care is the best way to keep our boats looking proud and performing smooth, season after season.
Frequently Asked Questions
Can Gelcoat Be Restored on Cracks or Deep Scratches?
Yes, we can restore gelcoat on cracks or deep scratches by using proven gelcoat repair techniques. By following surface preparation tips like cleaning and sanding, we guarantee durable, seamless fixes that bring our boats back to life together.
How Long Does Gelcoat Restoration Typically Take?
Gelcoat restoration can feel like it takes forever, but with the right restoration techniques, including sanding and polishing, we usually finish within a day or two. Don’t forget to factor in gelcoat curing time—that’s key!
Are There Eco-Friendly Products for Gelcoat Restoration?
Yes, we can choose eco friendly options that prioritize sustainable practices, protecting marine life and our environment. Together, we support cleaner waterways while restoring gelcoat effectively, making our maintenance both responsible and rewarding.
Will Restoration Affect the Boat’S Resale Value?
We believe restoration benefits directly boost your boat’s resale value by improving its overall condition and visual appeal. Together, we can maintain pride in our vessels and guarantee they attract buyers willing to pay top dollar.
Can I Restore Gelcoat in Direct Sunlight?
When it comes to gelcoat application, working in direct sunlight can really complicate things—like adding fuel to the fire. Sunlight effects can cause uneven drying, so let’s stick to shaded, cooler spots for the best results.