As an Amazon Associate, we earn from qualifying purchases. Some links may be affiliate links at no extra cost to you. Although our opinions are based on curated research, we haven't used these products. Articles generated with AI.
Autopilot Installation: Enhance Your Boating Experience
Installing an autopilot system really ups your boating game, letting us relax while it handles steering. We start by prepping the spot and gathering all gear, then set up the hydraulic pump near the steering ram for slick response. Wiring? We carefully follow marine standards so everything talks smoothly. After calibration—yes, including rudder checks—we’re good to go. Regular maintenance keeps it sharp, too. Curious about the finer steps that keep your autopilot running flawlessly?
Key Takeaways
- Prepare the installation site with essential tools and ensure sufficient space for flush mounting the helm control unit.
- Position the hydraulic pump close to the steering ram and mount it horizontally for optimal performance and ease of maintenance.
- Integrate the autopilot with marine-standard networks like NMEA 2000, using proper connectors for reliable sensor and control communication.
- Calibrate sensors and rudder alignment accurately, and input speed profiles for precise and smooth autopilot steering control.
- Perform regular maintenance, including checking hydraulic fluid levels, purging air, and rinsing components to prevent corrosion and ensure durability.
Preparation and Essential Equipment
You may be interested

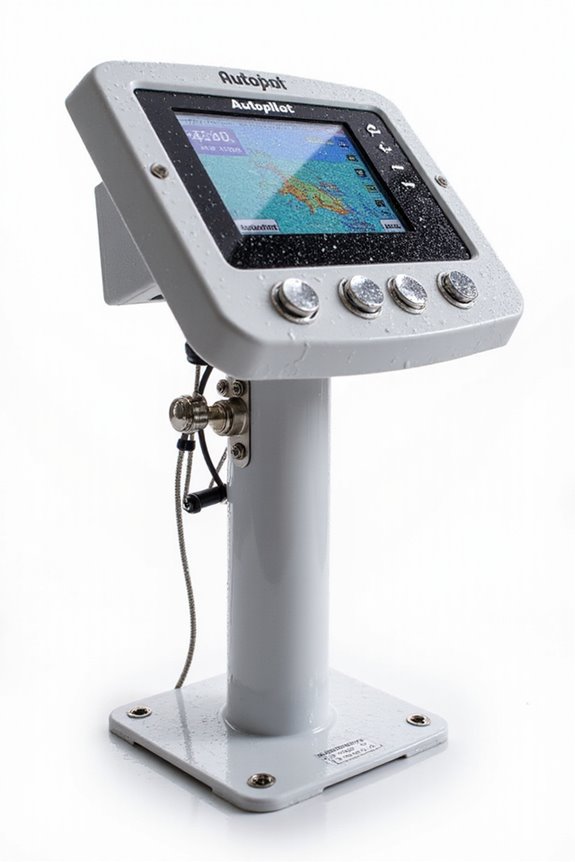
Before we get our hands dirty with installing an autopilot system, it’s crucial to prepare the site and gather all essential equipment first—after all, a well-planned setup saves headaches later. Choosing the right components means we consider the exact locations for each unit carefully, especially keeping magnetic compasses at least 9½ inches away to avoid interference. Following installation guidelines helps us plan space for modules like the pump, which needs a dry, flat spot. We’ll also confirm cable lengths to avoid any tight wiring that could stress connections. Don’t forget, the helm control unit needs room for a flush mount—often an unused instrument hole works perfectly. With tools like drills, wire strippers, and marine sealants ready, we’re set to move forward confidently and keep our boat’s autopilot system reliable.

Country Of Origin : Hungary

Package Dimensions: 35.56 H X 13.208 L X 33.02 W (centimeters)
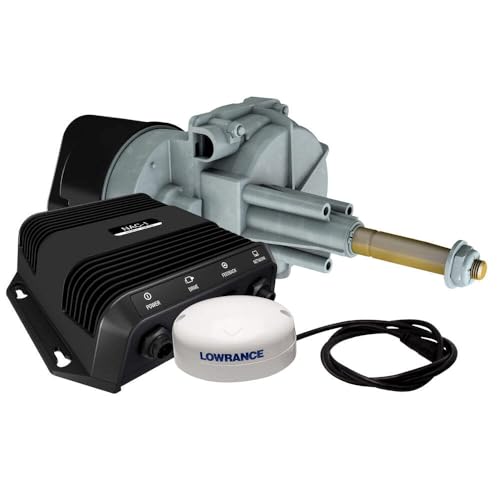
Outboard pilot cable steer pack
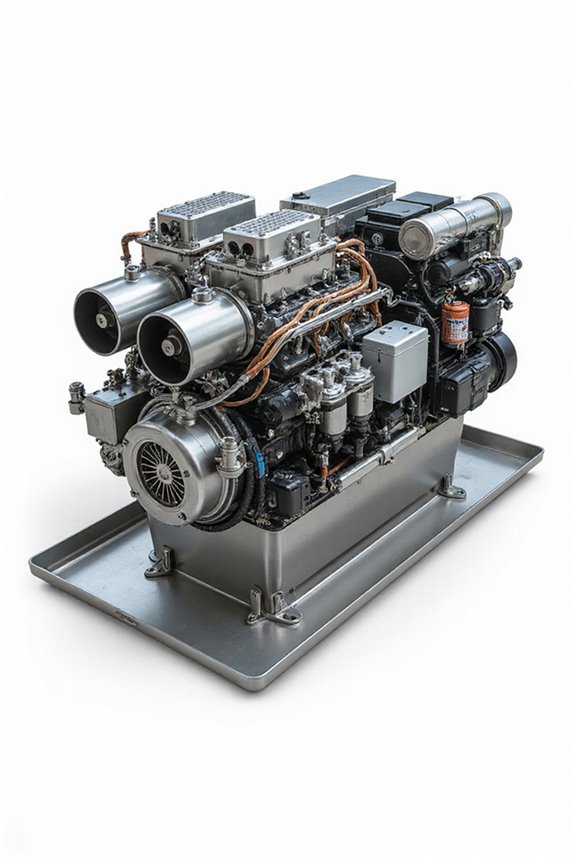
Hydraulic System Setup
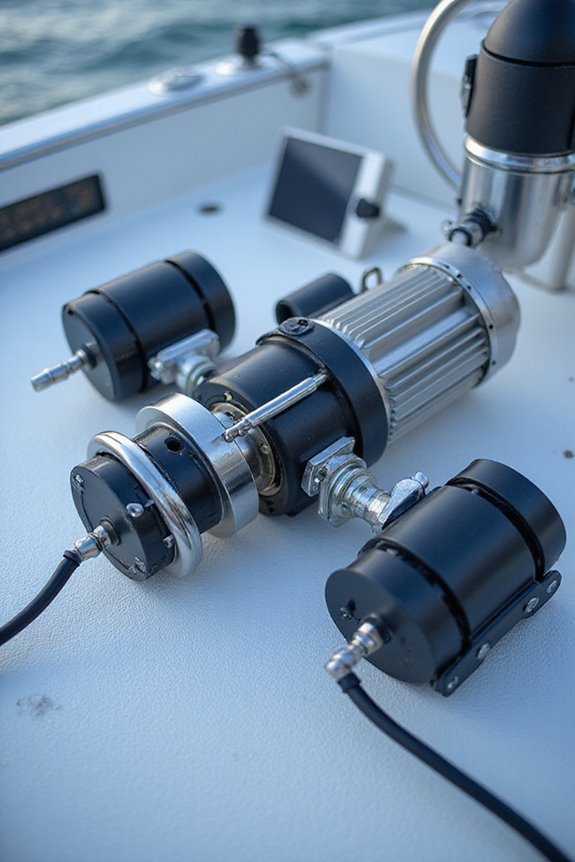
While setting up your boat’s hydraulic autopilot system might sound a bit like rocket science, we promise it’s manageable with the right approach. First off, pump placement is key—we want it as close to the steering ram as possible to cut down hose runs and boost response. Mounting it horizontally is ideal; it helps with air bleed and extends pump life. If that’s tricky, a vertical mount’s okay, just make sure connections face upward to purge air. Speaking of hydraulic fluid, always use the type your manufacturer recommends to keep seals happy and steering smooth. Remember, careful routing of flexible hoses—no sharp bends or abrasion—and labeling them will save us headaches down the road. Ready to get started? Let’s get that system running like a dream!
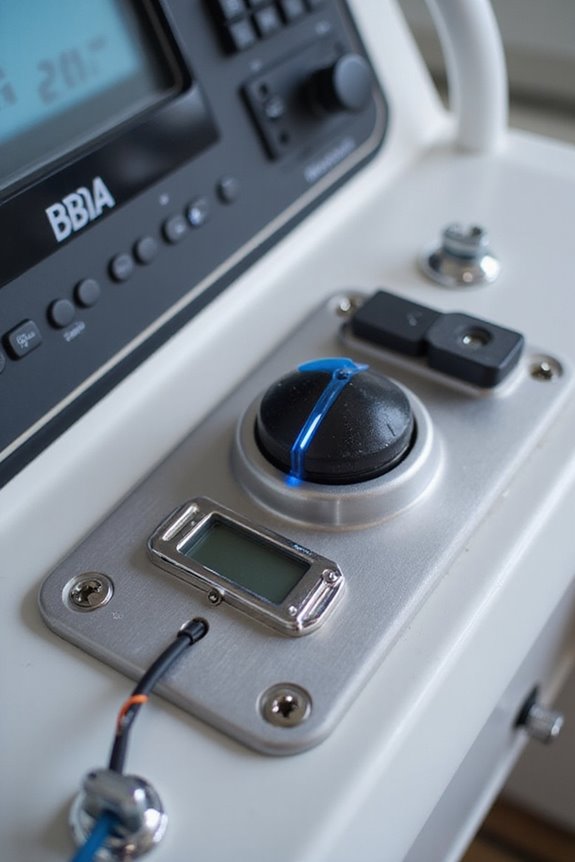
Electrical and Network Integration
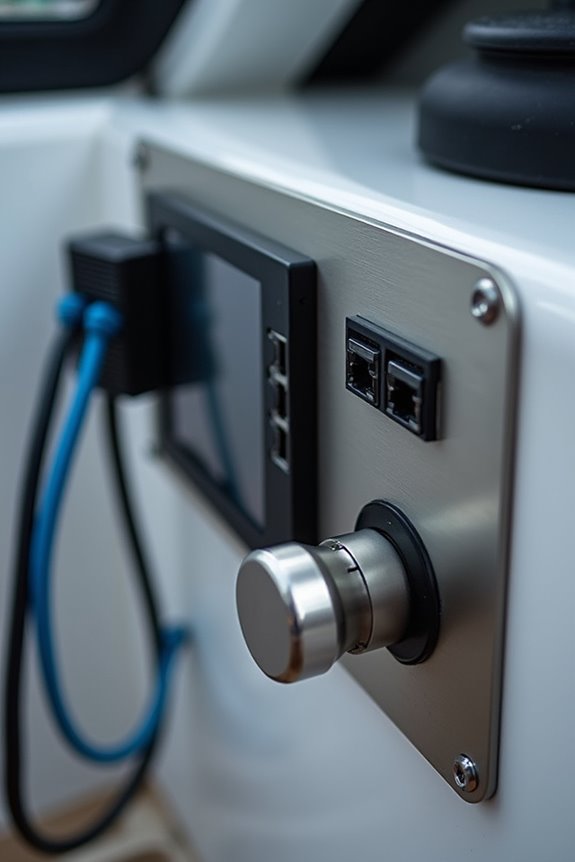
Since a boat’s autopilot isn’t just a single gadget but a whole network working together, getting the electrical and network integration right is vital for smooth sailing. We need to think about the network architecture carefully—how the autopilot computer, sensors, engine controls, and displays all communicate. Following marine wiring standards like NMEA 2000 guarantees our data flows reliably and keeps interference at bay, which is essential when steering depends on real-time info. Plus, standardized connectors make installation less of a headache, right? With the right setup, our autopilot talks seamlessly to everything: heading sensors, throttle controls, even wireless controllers. So, when done correctly, electrical integration turns a complex system into a smooth, confident co-captain on deck. Who knew wiring could make us feel this connected?

For connection between NMEA 200 drop cables and backbone cables

Good quality cable with thicker insulation and simple color coding to identify backbone from drop cables easy. Red=power connection,Blue=backbone connection

One male and one female 120 ohm resistor is essential to terminate each end of the NMEA 2000 backbone. DO NOT use more than one pair of terminators on your network.
Configuring and Calibrating the Autopilot
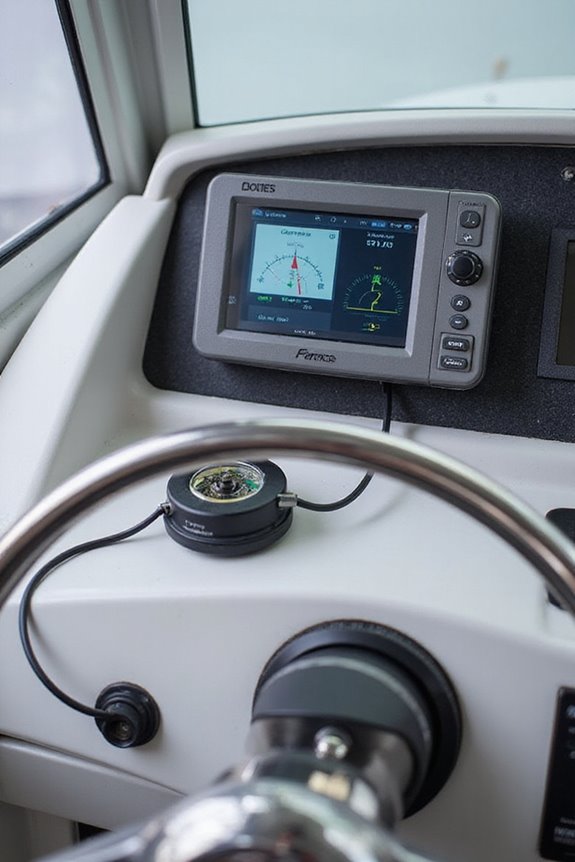
Getting your autopilot properly configured and calibrated is an essential step that’s often overlooked but makes all the difference when you hit open water. We start with sensor calibration—turning the boat gently while keeping it steady to align your compass and speed sensors. This stage might sound technical, but it’s important for accurate steering. Next, we set speed profiles by entering key boat details like cruising and maximum speeds, allowing the autopilot to learn how your vessel handles at different paces. Don’t skip the step where the system guides you through these procedures—those prompts are your best friend here. Finally, verify the rudder alignment so steering feels smooth and precise. Trust me, this fine-tuning guarantees your autopilot won’t throw you any curveballs when you’re out there.
Safety Measures and Component Documentation
Before we plunge into safety measures and component documentation, let’s remind ourselves that autopilots aren’t magic buttons for hands-free cruising—they rely on us staying sharp and prepared. So, what safety protocols should we follow? Regular navigation checks and monitoring environmental conditions are musts, and don’t forget emergency procedures—everyone should know how to disengage autopilot quickly. When it comes to component specifications, always stick to the user manual and guarantee compatibility to avoid glitches. Installation should meet industry standards, including electromagnetic compatibility to fend off interference. Staying on top of updates keeps our system compliant and reliable. After all, safety and thorough documentation aren’t just red tape—they’re what keep our shared adventures safe and smooth. Ready to set sail with confidence?
Routine Maintenance Practices
Now that we’ve got safety and proper component documentation under our belts, it’s time to chat about keeping our autopilot systems running smoothly through routine maintenance. Regular routine inspections are our best friends here—they help catch issues like leaks or worn hoses early. Speaking of leaks, don’t forget fluid monitoring: checking hydraulic oil levels twice a year at the highest helm spot can save us from nasty surprises. Air in the system? That spongy steering feeling is its calling card, so we’ll want to purge it carefully to keep steering sharp. Plus, rinsing off salt from motors and control boxes after every trip prevents corrosion—because who wants their autopilot looking like a crusty old relic? Taking these steps keeps us cruising confidently, knowing our autopilot’s ready no matter where the waves take us.
Troubleshooting Common Installation Challenges
While installing an autopilot system might seem straightforward at first, we quickly learn it’s a bit more like solving a nautical puzzle. Ever tried attaching a push rod to a steering quadrant that just wasn’t designed for that pressure? Custom fabrication often becomes our secret weapon here. And don’t get us started on electromagnetic interference—placing control pods near compass or radio wiring? Recipe for erratic signals. We’ve found that cutting corners on mounting stability or ignoring these tiny details can result in frustrating system glitches. So, how do we navigate these hurdles? By carefully planning each component’s position, double-checking fittings, and welcoming a little tweak time for calibration. Together, we can avoid common pitfalls and make sure our autopilot truly feels like part of the crew.
Frequently Asked Questions
Can I Install the Autopilot System Myself Without Professional Help?
They say, “Measure twice, cut once.” We can tackle self installation tips together, but let’s avoid common mistakes like improper wiring or calibration. Joining a boating community helps, yet sometimes professional help guarantees safety and warranty protection.
How Does the Autopilot Integrate With Other Navigation Systems?
We guarantee autopilot compatibility by connecting it with your GPS, compass, and radar for seamless navigation integration. Together, these systems keep us on course effortlessly, strengthening our shared boating experience with precision and teamwork.
What Are the Benefits of Registering My Autopilot Product After Installation?
When we register our autopilot, warranty registration activates essential product support, giving us priority help and updates. This connects us with a community that values reliability and guarantees our system stays efficient and secure.
How Do Environmental Factors Affect Autopilot System Performance?
We understand wind resistance and water conditions greatly impact autopilot performance. Together, we can appreciate how rough seas demand smarter steering corrections, while calm waters let us enjoy smoother navigation with less autopilot effort and greater safety.
Are There Any Special Tools Required for Autopilot Hydraulic Hose Installation?
Oh sure, because everyone just has special hydraulic fittings crimpers lying around! But seriously, we’ve found following installation guidelines closely and sourcing the right tools together helps us avoid leaks and truly feel part of the marine hydraulics community.