As an Amazon Associate, we earn from qualifying purchases. Some links may be affiliate links at no extra cost to you. Although our opinions are based on curated research, we haven't used these products. Articles generated with AI.

How to Check and Seal Deck Leaks on Your Boat
We’ve all found that sneaky deck leak, right? To check, start with a thorough visual inspection—look for cracked seals or moldy spots beneath panels. Next, try applying soapy water to suspect areas; bubbling means air or water’s sneaking out. Using colored dye upstream can trace leaks hidden from plain sight. Once found, pick a marine-grade sealant made for your deck’s material and follow instructions carefully. Want to keep your boat comfy and dry? Stick around and pick up some handy tips to seal and prevent those pesky leaks.
Key Takeaways
- Visually inspect deck seams, hardware, and seals for cracks, rust stains, mold, or soft spots indicating leaks or damage.
- Use soapy water to apply on suspect areas and watch for bubbles revealing escaping air or water leaks.
- Deploy colored dye upstream of suspected leak points to trace water paths and pinpoint entry locations.
- Reinforce weak spots around deck fittings and reseal with marine-grade sealant compatible with your deck materials.
- Maintain a routine of cleaning, inspecting, and applying protective sealants to prevent future leaks and deck rot.
Understanding Common Causes of Deck Leaks
You may be interested


When it comes to deck leaks, they usually don’t just pop up out of nowhere—there’s almost always a story behind them. Often, it starts with deck hardware like hatches or stanchions installed without backing or proper reinforcement, making sealing techniques less effective over time. Sometimes, our own DIY enthusiasm leads us to add or modify hardware directly on the cored deck, unintentionally creating weak spots. Not to mention, sagging decks caused by poor framing disrupt seals and invite water inside. We’ve seen how using undersized hardware or screws straight into the core instead of solid material can lead to troublesome leaks. So, before blaming the ocean, let’s take a closer look at how installation and design choices impact those pesky drips we all want to avoid. Sound familiar?
Essential Tools for Detecting Leaks
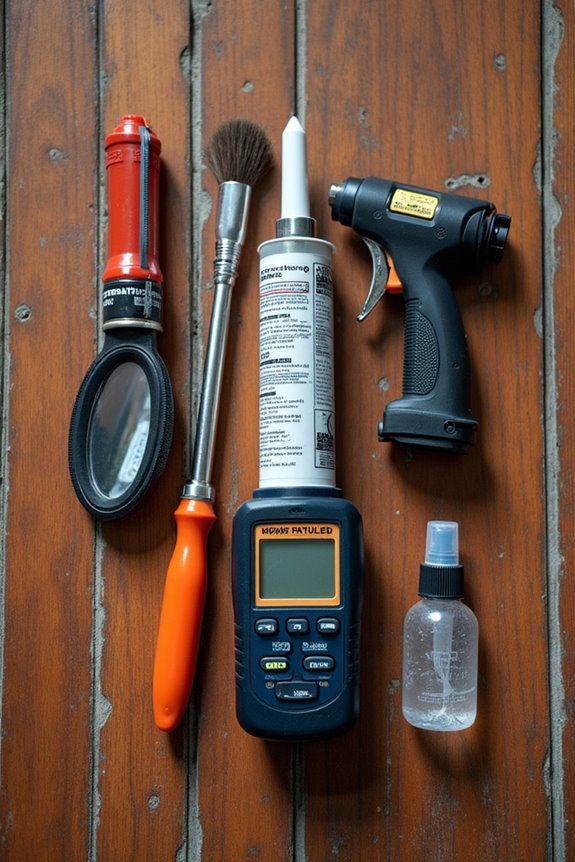
We’ve got a handful of essential tools that make detecting deck leaks way less of a head-scratcher than you might expect. For starters, acoustic detection devices like ultrasonic leak detectors can pick up tiny sounds water or air leaks make—sort of like your boat whispering its secrets. These handheld gadgets help us find leaks in tight spots without tearing things apart. Then there are electronic alarms, such as bilge water sensors, alerting us early when water levels rise unexpectedly—our unsung leak watchdogs. We also rely on pressure testing kits that pressurize compartments to reveal escaping air or water. With these tools working together, we form a little leak-fighting team, catching problems before they cause real headaches. Ready to get gear-savvy? We’ve got this!

[ SPECIFICATIONS ]: Model: SFUAS1-03 | Voltage: 12V DC | Coverage: 200 sq.ft per transducer ( 800 sq.ft total) | Frequency: 20–45 kHz adjustable | Waterproof Rating: IP68...
Conducting a Visual Inspection for Leak Signs

Now that we’ve equipped ourselves with the right tools to track down those sneaky leaks, it’s time to put on our detective hats and give the deck a good once-over with our own eyes. Leak detection starts with spotting visual indicators like tiny cracks between the hull and deck, or loosening around cleats and rails. Have you noticed any mold or soft plywood beneath deck panels? That’s a big red flag signaling water intrusion. Don’t forget to check portlights and hatch seals—they can degrade and invite unwanted moisture. Watching for rust stains or blistered paint also helps reveal hidden leaks. By systematically inspecting these trouble spots and noting any dampness or corrosion, we’re not just guessing—we’re building a solid plan to keep our boat dry and sailing smoothly. Additionally, ensuring that your boat’s multi-bottom hold features are intact can help maintain stability and prevent potential leaks from worsening. Ready to plunge into?
Utilizing Pressurization Methods to Locate Leaks
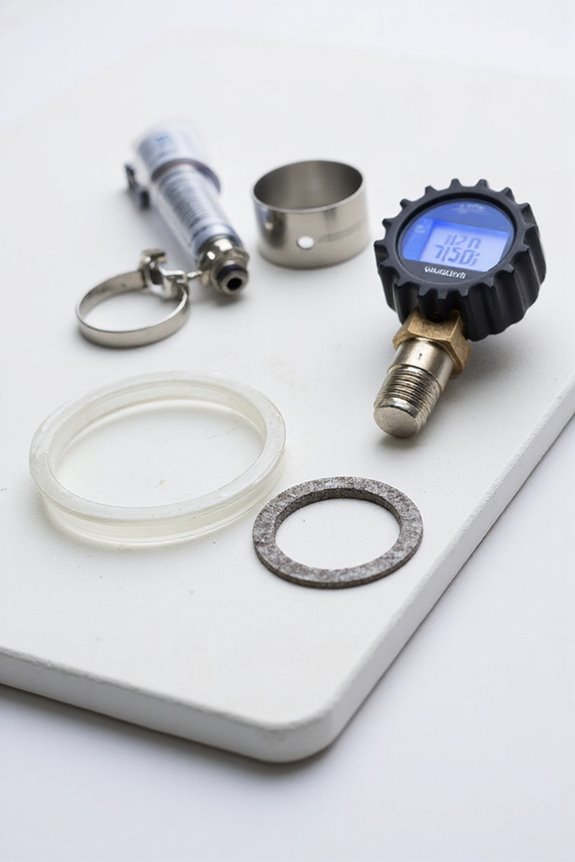
A handful of clever tricks can turn pressurization into one of our best allies for hunting down those stubborn deck leaks. By sealing all openings like washboards and vents, we create a tight shell inside our boat. Then, using pressurization techniques—like a leaf blower or foot pump—we gently inflate the cabin, making air seek any escape route. Sounds simple, right? For leak detection, this method reveals hidden or slow leaks that peek through spots we’d otherwise miss. Just remember, don’t go overboard—we’re inflating a boat, not a balloon animal! Applying soapy water on fittings during this process helps bubbles pop up right where air’s sneaking out. It’s a clever, hands-on way to pinpoint leaks before they turn into bigger headaches.
Testing With Soapy Water and Colored Dye
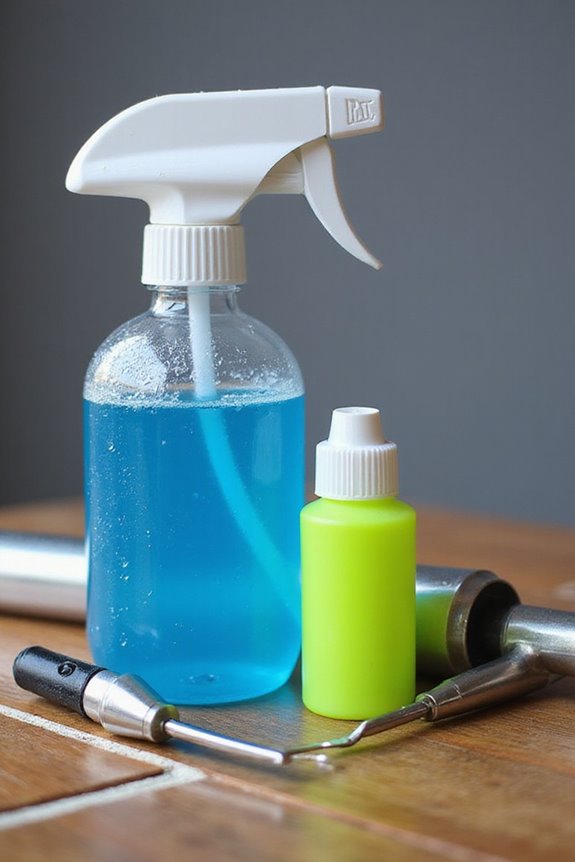
How exactly can we spot those pesky deck leaks hiding in plain sight? Well, it starts with soapy solution preparation—mix some dish soap with water to create a bubbly tester. Applying this with a brush or spray bottle to suspect spots, especially around seals and fittings, lets bubbles reveal escaping air, kind of like little clues popping up to say, “Hey, I’m a leak!” Then, there’s the fun part: dye application techniques. Introducing a brightly colored dye upstream lets us track water paths through cracks or seams. While dye shows where water travels, soapy water pinpoints leaks by bubbling. Together, these methods make a great detective duo, helping us find and fix leaks before they cause a bigger headache. Ready to bubble and dye our way to a dry deck? Let’s plunge into it!
Identifying Frequent Leak Locations on the Deck
Deck leaks can be as sneaky as that one sock that always disappears in the laundry—except these leaks hide in spots you’d least expect, turning wet surprises into a frustrating mess. When we look at frequent leak locations, deck fittings like cleats, handrails, and winches stand out. These require holes through the deck, and over time, bedding compounds degrade or screws loosen, inviting water in. Then there are mast profiles—the base where rigging and mast penetrate the deck is a notorious hotspot. These areas endure mechanical stress, and seals often wear out. Plus, don’t forget cable ducts and drain openings, which, if clogged or poorly sealed, add to the trouble. Spotting leaks early lets us tackle the problem before it turns into a soggy nightmare we all want to avoid.
Selecting the Right Sealant for Repairs
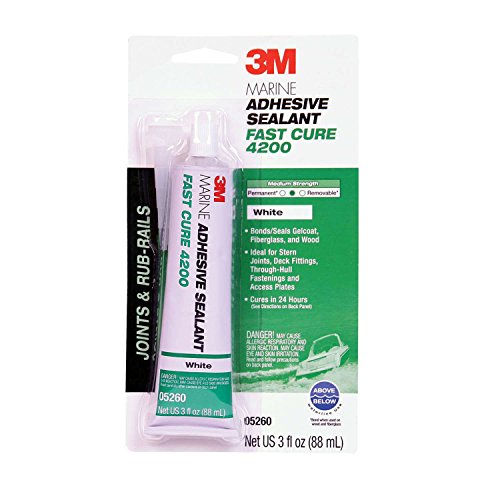
Since choosing the right sealant is crucial for keeping our decks watertight and sturdy, let’s explore the types that make the cut. Sealant selection isn’t just about grabbing the first tube off the shelf; substrate compatibility matters. Polyurethane sealants offer strong bonds, but beware—they don’t play well with plastics like ABS. Silicone sealants are flexible and great for plastics, yet they can leave residual mess and aren’t paintable. For versatility, polysulfides excel, especially with wood and fiberglass, but skip them on plastic fittings. Some hybrids blend strengths, giving us options for trickier surfaces. So, before you buy, ask yourself: What material am I sealing? What’s the environment like? Matching sealant to deck surface guarantees a longer-lasting fix—trust us, your boat will thank you!

MARINE SILICONE SEALANT: Available in black, white, and clear, this superior heavy-duty adhesive bonds to fiberglass, wood, glass, metal, and plastics. Ideal for above and below the waterline applications

MARINE SILICONE SEALANT - Available in black, white, and clear, this superior heavy-duty adhesive bonds to fiberglass, wood, glass, metal, and plastics. Ideal for above and below the waterline applications.

High Load Bearing Capacity: Engineered for heavy-duty marine applications, this 5200 marine sealant ensures permanent & secure adhesion on various surfaces. As a top marine adhesive and marine grade sealant, it provides reliable performance for all your needs.
Step-by-Step Guide to Sealing Deck Leaks
Picking the right sealant sets us up for success, but the real magic happens when we put it to work. First, we thoroughly clean and sand the leak areas to guarantee proper adhesion—no shortcuts here, friends. Next, we use sealing techniques like injecting epoxy resin into cracks, followed by a thickened epoxy fill to lock out water and strengthen the core. Then, we apply marine-grade sealant around hardware, carefully controlling thickness so the deck can flex without drama. Don’t forget to mask edges for a neat finish—deck maintenance is all about details! Finally, we reinstall hardware with the right torque and fresh sealant beads, avoiding over-compression that can cause leaks. Ready to try? It’s teamwork plus technique that keeps our boat dry and happy.

Marine-Tex is designed for filling, bonding and rebuilding wood, fiberglass, ceramic, glass, metal, masonry and many plastics. Packaging may Vary

PROFESSIONAL GRADE - When it comes to your boat, you don't want to take chances. Our marine adhesive provides watertight bonding and sealing for fiberglass / gelcoat, wood and more. Creates watertight, weather-resistant, UV-resistant seals. Holds up well during vibration, movement and shock. Gloves included.
HIGH-PERFORMANCE SEALING: Form weather-resistant, malleable bonds between dissimilar surfaces and a wide range of marine substrates like wood, fiberglass, and metal
Tips for Ongoing Maintenance to Prevent Future Leaks
Even the best-sealed deck isn’t completely leak-proof without a bit of ongoing TLC. That’s where preventive measures come in—like routine checks we all love to do (well, maybe not love, but definitely need). Regularly inspecting seams, fittings, and drains helps catch tiny cracks or worn sealants before they cause trouble. Don’t forget to clean off grime and remove organic debris promptly, keeping rot and corrosion at bay. Applying protective sealants compatible with your deck materials extends waterproof barriers, while light sanding on teak decks helps them soak up sealants better—sort of like a spa day for your boat. And hey, who doesn’t appreciate a dry, mold-free deck cushion? Keeping a maintenance log and scheduling professional inspections can save us headaches later. Ready to keep leaks out for good?
Frequently Asked Questions
How Can Weather Conditions Affect the Effectiveness of Deck Leak Repairs?
We’ve learned weather effects truly challenge our repairs—humidity, temperature, and storms can undermine seals. That’s why we trust smart repair timing, ensuring dry, stable conditions so our boats stay safe and our community stays connected.
Are There Any Environmental Concerns With Using Marine Sealants?
We understand the environmental impact of traditional marine sealants concerns many of us. That’s why we’re exploring sealant alternatives—like biodegradable, biocide-free options—that protect our boats and our shared waters, fostering responsibility and community together.
How Long Should I Wait After Sealing Before Exposing the Deck to Water?
We should always respect the sealing time recommended by manufacturers, usually 24 to 72 hours, before water exposure. This guarantees our boat deck stays protected, creating a strong bond and letting us enjoy worry-free adventures together.
Can Deck Leaks Cause Damage to the Boat’S Electrical System?
It’s tempting to think small leaks won’t harm much, but water intrusion can cause serious electrical corrosion, damaging wiring and devices. Together, let’s protect our boats by staying vigilant and preventing these costly, hazardous issues.
Is Professional Inspection Necessary for Severe or Persistent Deck Leaks?
We believe a professional inspection is crucial for severe leaks because experts uncover hidden issues we might miss. Together, we guarantee our boat’s safety and prevent costly damage, strengthening our trusted boating community’s knowledge and care.