As an Amazon Associate, we earn from qualifying purchases. Some links may be affiliate links at no extra cost to you. Although our opinions are based on curated research, we haven't used these products. Articles generated with AI.
Varnish Application and Repair for Boats: A Complete Guide
Ready to give your boat that brilliant, lasting shine? We start by prepping the wood—cleaning and sanding it just right, usually from P180 to P240 grit, to smooth and highlight the grain. Then comes choosing the right marine varnish—something flexible with UV blockers, like alkyd or two-part polyurethane. When applying, thin your first coat slightly, use gentle brush strokes, and sand between thin layers for that glassy finish. Stay on top of maintenances, and you’ll keep your wood looking fresh through sun and sea. Curious about fixing nicks or tackling tricky weather conditions?
Key Takeaways
- Thoroughly clean and sand boat surfaces using methanol and appropriate grits like P180 to P240 for optimal varnish adhesion.
- Choose marine-specific varnishes with UV inhibitors and flexibility, such as alkyd spar varnishes or two-part polyurethanes, for durability.
- Apply varnish with a quality brush using slow, deliberate strokes, thinning the first coat lightly in warm weather to ensure smooth flow.
- Build up multiple thin coats, sanding finely between layers to achieve a glass-like, durable finish resistant to cracking and moisture.
- Maintain varnished surfaces through routine inspections, light cleaning, and timely reapplication to preserve appearance and protective qualities.
Preparing Boat Surfaces for Varnishing
You may be interested

Let’s start with the foundation of a great varnish job: preparing the boat’s surface. Before we even dip our brushes, proper surface cleaning techniques are key. We need to remove dirt, oils, and any lingering contaminants—think of it as giving our boat a fresh face. Methanol wiping helps us highlight the wood grain and spot scratches without raising the grain—handy, right?
Now, about sanding methods: starting with a P180 grit abrasive strikes a good balance, removing old varnish while keeping the wood happy. If edges are stubborn, stepping down to coarser grits like P120 can help, then finishing up with finer ones such as P240 guarantees smoothness. Let’s not forget vacuuming and wiping down between steps to keep dust at bay—our varnish will thank us!
Selecting the Right Varnish for Marine Use
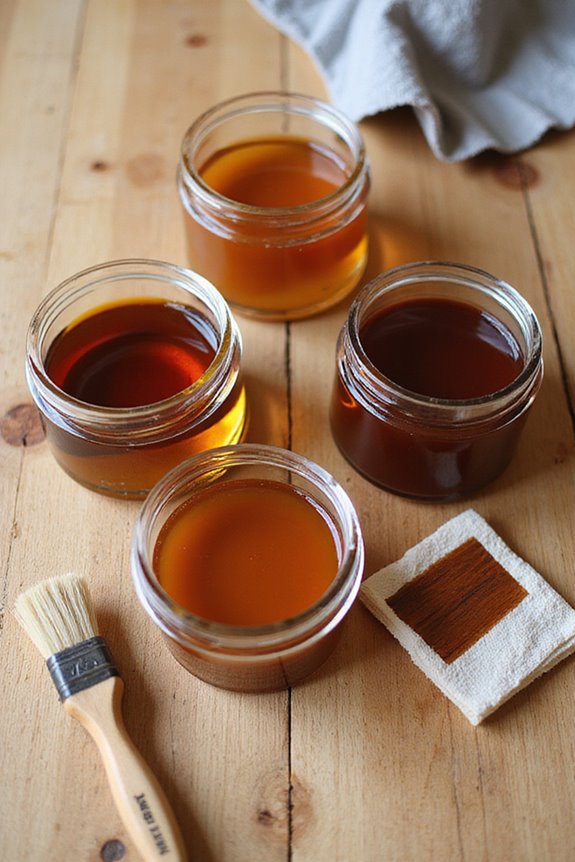
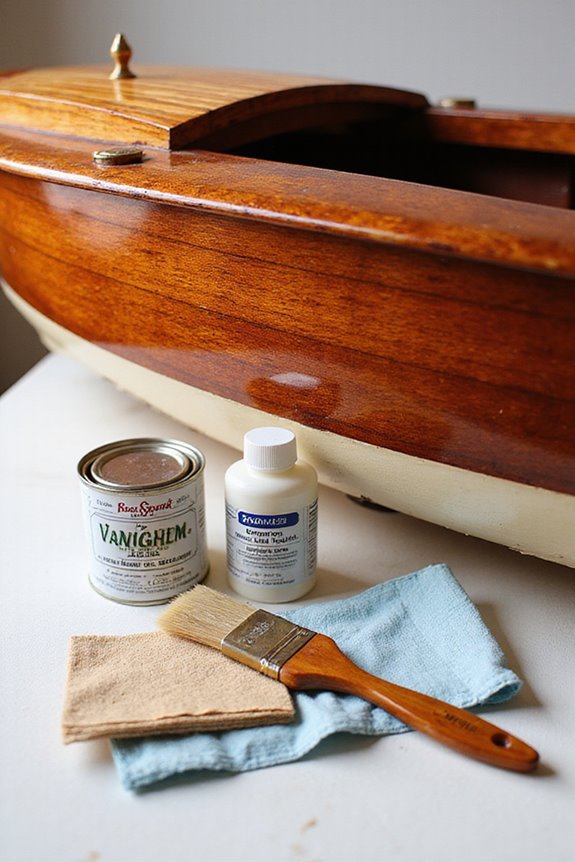
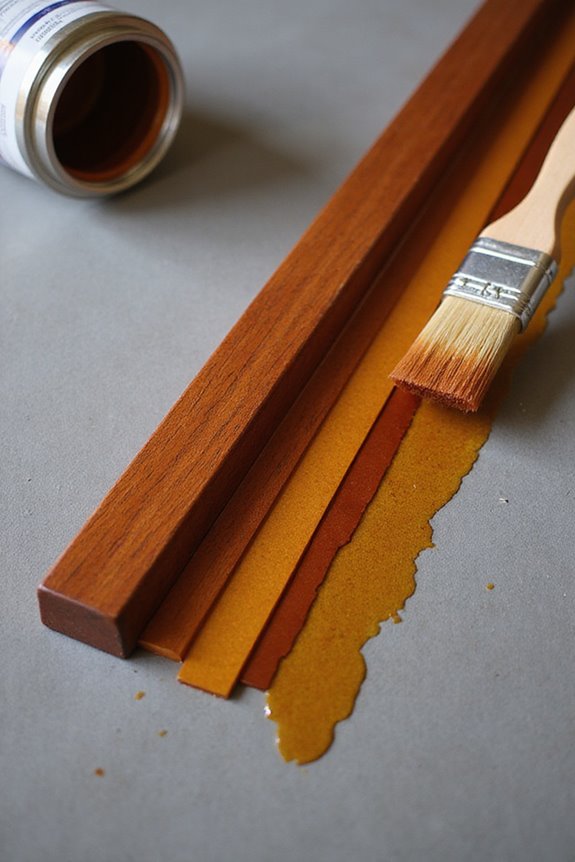
After prepping our boat’s surface just right, the next step is choosing the varnish that’ll stand up to the challenges of marine life. We all want that perfect finish, right? When picking among traditional varnish options or modern types, marine varnish characteristics are key. For instance, traditional tung oil varnishes offer a warm amber glow but can crack over time. Alkyd-based spar varnishes strike a good balance of durability and ease for us DIYers, while tougher two-part polyurethanes deliver serious UV resistance—though they demand extra care during application. Don’t forget, flexibility is essential since wood expands and contracts near water. Ultimately, selecting varnish is about weighing appearance, durability, and how hands-on we want to be. Additionally, choosing a varnish with maximum UV resistance is vital for preventing fading and ensuring long-lasting protection. Ready to plunge into the finish that fits your boat and style?

Ideal for use on fiberglass, wood or metal surfaces above the waterline

UNPARALLELED SHINE & PROTECTION - Achieve a brilliant, mirror-like finish while guarding against UV rays, salt, marine elements, and oxidation

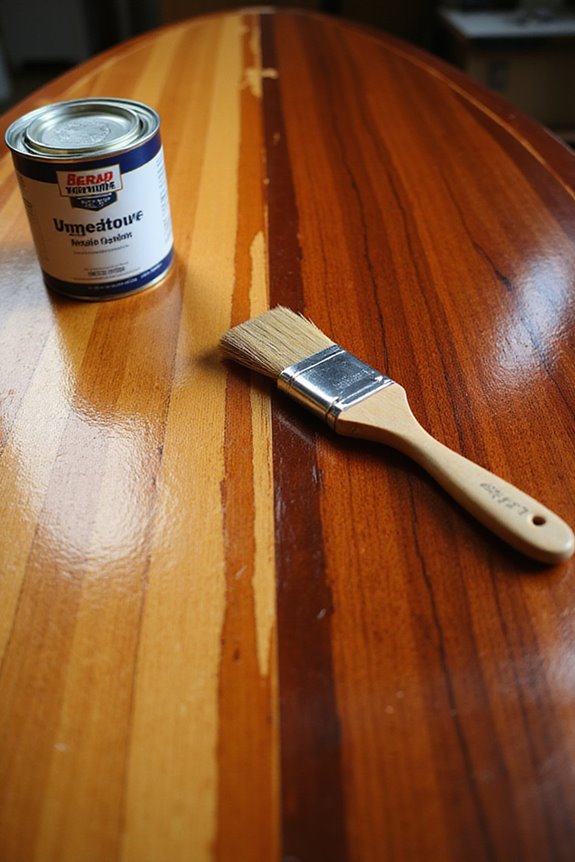
World famous, highest quality traditional tung oil marine spar varnish. Dry time at 65 degree Fahrenheit: Dry in 12 hours, recoatable in 24 hours
Correct Techniques for Varnish Application
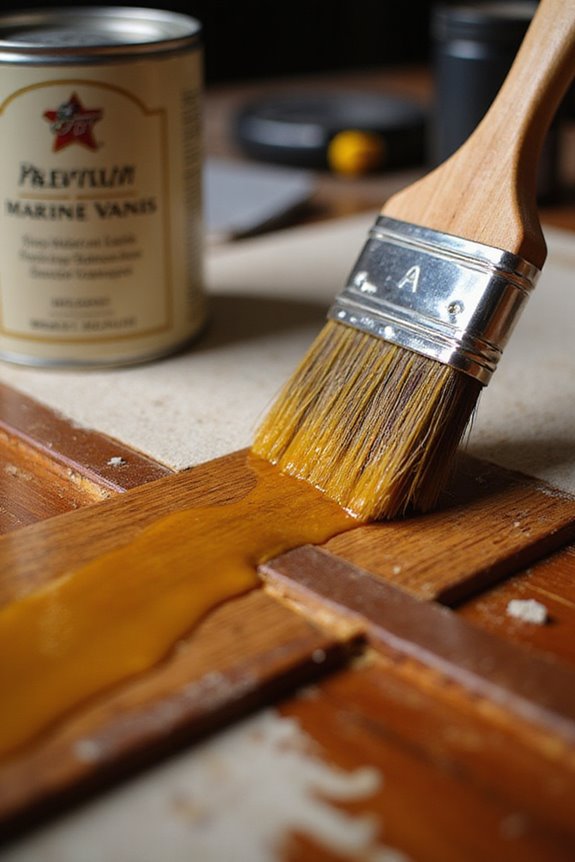
Applying varnish to your boat isn’t just about slapping on a coat and calling it a day—there are a handful of key techniques that make all the difference between a finish that shines and one that sighs “meh.” We’re talking about prepping your surface just right, choosing the proper brush, stirring without creating a bubble army, and timing your strokes so the varnish glides on smoothly without unwanted marks. For starters, gentle brush techniques mean dipping only a third of the brush and using slow, deliberate strokes—think of it as painting with care, not haste. Varnish thinning? Only when needed, lightly thinning the first coat helps flow in warm weather but overdoing it will have us chasing drips. Stirring gently from bottom to top keeps bubbles away, yielding a clean, glassy finish we all want.

SHURLOCK COMPATIBLE - Attach this bristle brush to any Shurhold handle (SOLD SEPARATELY) for easy access to hard-to-reach surfaces
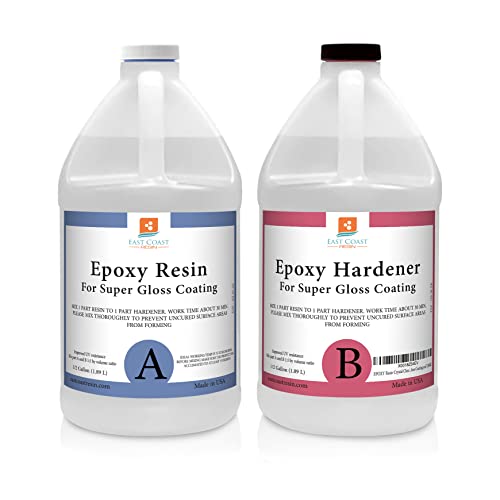
FLAWLESS CRYSTAL CLEAR COATING - Achieve crystal clear, flawlessly transparent epoxy coatings with our ultra high performance 1 gal. resin and hardener kit! This premium professional grade epoxy goes on smooth and dries evenly to eliminate crawling, trickling, craters and "fish eyes".

Relax in a century old tradition. Crafted in the same manner as it was over a century ago, The Original Pawleys Island Rope Hammock is constructed of a continuous woven bed of 100% 3-ply COTTON ROPE and is perfect where space is limited.
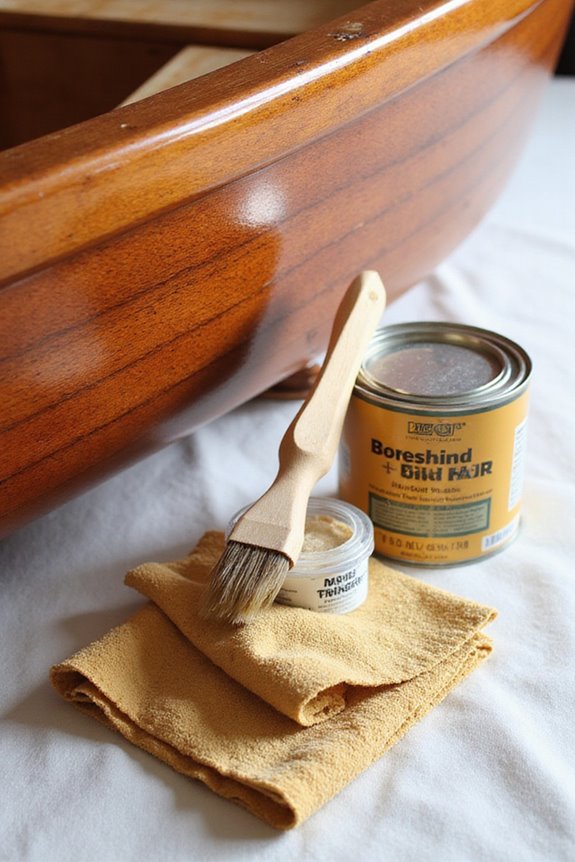
Achieving Durable and Smooth Coats
Nailing a varnish coat that’s both smooth and tough isn’t magic—it’s part science, part art, and a bit of patience. To achieve that lasting finish, we focus on varnish flexibility, allowing the wood’s natural movement without cracking. Ever wonder why marine varnish lasts outdoors despite sun and salt? It’s packed with UV inhibitors that protect and enhance color, keeping your wood’s rich tones vibrant instead of faded. Applying multiple thin coats and letting each dry properly builds durability, while careful sanding between layers smooths the surface to a glass-like finish. Remember, a polished coat isn’t just about looks—it’s your boat’s shield against moisture and harsh weather. So, with the right approach, our boats boast both beauty and ruggedness, ready to face the elements with style.
Optimal Layering and Finishing Practices
Anyone who’s tried varnishing a boat knows it’s not just slapping on paint and calling it a day. Getting the layer thickness right is key—we want several thin coats instead of one thick puddle. Starting with a thinned sealer coat helps set a solid base, then we gradually build up smooth layers. Between coats, don’t forget our faithful sanding techniques; using fine grits like 220 to 320 keeps the surface silky and ready for the next layer. Sanding isn’t just busy work—it’s how we avoid roughness and brush marks that drive us crazy. And when it’s time for finishing, applying two final coats with minimal sanding locks in that glossy, showroom shine we all aim for. Ready to roll up those sleeves and get layering? We’ve got this!
Managing Environmental Factors During Varnishing
While it might be tempting to grab your brush and start varnishing anytime the weather looks decent, managing the environmental conditions around us is actually one of the trickiest—and most essential—parts of the job. We’ve all learned that temperature control plays a huge role; too cold, and the varnish won’t cure right, too hot, and it might dry too fast, leaving imperfections. Humidity management is just as vital because high moisture can cause the varnish to peel or stay tacky. So, we want to aim for a warm, dry, and stable environment—ideally indoors or in shaded areas—where wind and dust don’t sneak in uninvited. After all, we’re aiming for that flawless, durable finish that makes our boats shine season after season.
Identifying and Repairing Varnish Damage
There are five common types of varnish damage you’re likely to encounter on your boat—cracking, peeling, fading, blistering, and the dreaded “blown” varnish. Each type tells us a story about what our boat’s been through, guiding us on how to fix it. When evaluating severity, we start with a close visual inspection, looking for cracks or bubbles, then test moisture levels beneath the surface. Spot testing helps us understand how deep the damage goes—because peeling varnish isn’t just ugly; it can let moisture sneak in and cause trouble. Repairing involves carefully removing damaged varnish by sanding or gentle scraping, then applying fresh coats with UV protection. Keeping a sharp eye on these types of damage keeps our boat looking shipshape and ready for adventure.
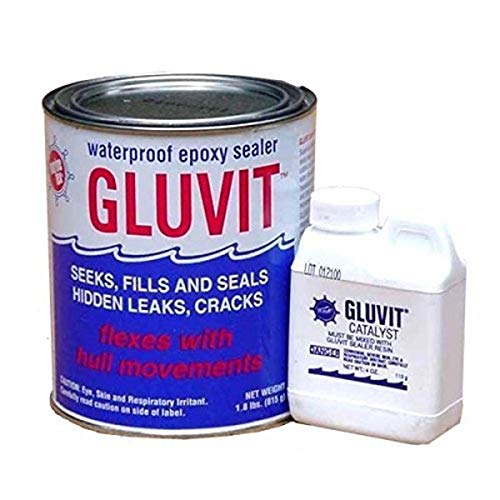
Gluvit barrier coat seals and protects hulls and decks

EACH KIT CONTAINS eight packets of WEST SYSTEM 105 Resin and 205 Fast Hardener, fiberglass fabric, adhesive filler, fairing filler, glue brushes, mixing pots, a reusable mixing stick, an application syringe, three pairs of protective gloves and illustrated instructions for completing a variety of common fiberglass repairs.

High-build two part epoxy primer and barrier coat for use above and below the waterline
Best Practices for Maintaining Varnished Surfaces
We’ve learned how to spot and fix those annoying varnish flaws that pop up over time, but keeping a varnished surface in tip-top shape goes beyond just repairs. The key? Routine inspections and sticking to a solid maintenance schedule. Regularly checking for signs like yellowing or cracking helps us catch issues before they snowball. Cleaning lightly before applying maintenance coats also keeps that glossy finish looking fresh without stripping away good varnish. And let’s be honest—who wants to tackle a big mess later? By sticking to timely upkeep, we protect both the beauty and integrity of our boat’s wood. So, let’s commit to these best practices and enjoy smooth sailing with varnished surfaces that stand the test of time. Sound good?
Tips to Prevent Common Varnishing Problems
Because a smooth, flawless varnish finish can make or break the look of our boat, preventing common problems like sags, runs, and moisture damage is a smart move. For sag prevention, we apply varnish in smaller vertical bands, brushing horizontally right after to keep everything even—no funky drips allowed! Overloading tricky spots? Big no-no. Masking tape is our best friend to isolate those difficult areas. And moisture control? We use breathable covers and check for cloudy patches that scream trapped water. Fixing leaks and improving ventilation help keep our varnish strong and happy. Remember, catching problems early saves headaches later. After all, who wants a runny finish or “blown” varnish spoiling their boating pride? Let’s keep it smooth and seal the deal!
Frequently Asked Questions
How Long Can Varnished Wood Be Stored Before Installation?
Like a ship anchored safely in calm waters, varnished wood’s shelf life extends indefinitely with proper storage conditions. Together, we protect our treasures by controlling temperature and humidity, ensuring they’re ready to shine when installation day arrives.
Can Varnish Be Safely Applied on Rainy or Humid Days?
We don’t recommend applying varnish during rainy weather conditions due to high moisture levels causing cloudy finishes or slow drying. Instead, let’s wait for drier days to guarantee the best, lasting results together.
What Personal Protective Equipment Is Needed When Varnishing?
Like armor in battle, we wear safety goggles and chemical gloves to shield ourselves from varnish splashes and fumes. Together, let’s protect our eyes and skin, making every project safer and more confident as a team.
How Should Leftover Varnish Be Stored for Future Use?
To store leftover varnish properly, we transfer it to proper containers—preferably airtight PET plastic—while controlling temperature by keeping it cool and dry. This way, we protect quality and maintain a sense of shared care.
Are There Eco-Friendly Varnish Options for Marine Applications?
We’re excited to share that eco-friendly alternatives for marine varnishes use sustainable materials like water-based formulas, natural oils, and enzyme coatings. Together, we can protect our vessels and the waterways we all cherish by choosing these green options.