As an Amazon Associate, we earn from qualifying purchases. Some links may be affiliate links at no extra cost to you. Although our opinions are based on curated research, we haven't used these products. Articles generated with AI.
Varnish Maintenance Tips for Boat Owners
We all want our boat’s varnish to look sharp and keep the wood protected, right? Start by applying varnish when it’s dry and between 70°F to 85°F—not too hot or your finish might bubble. Prep is key: clean, sand smooth with 220-320 grit, and wipe dust away before each thin coat; usually, 7-9 coats do the trick. Watch for sags and scratches—lightly sand those out before more varnish. Safety first: ventilate well and avoid sparks. Curious about keeping that shine long-term?
Key Takeaways
- Regularly inspect varnished surfaces for yellowing, scratches, and wear, marking trouble spots for timely touch-ups.
- Lightly sand and clean surfaces before applying thin, multiple coats of varnish-thinner mix to restore protection and shine.
- Use vertical brushing for even coat application, allowing proper drying and sanding between layers for a smooth finish.
- Store varnish properly and educate crew on handling to prevent damage and ensure consistent maintenance.
- Keep detailed maintenance records and schedule inspections to extend the wood’s durability and preserve aesthetic appeal.
Ideal Conditions for Varnish Application
You may be interested

Even though varnishing your boat might seem straightforward, achieving that perfect, glossy finish really depends on getting the conditions just right. You see, temperature effects play a huge role—ideally, we want it between 70°F and 85°F. Too cold, say below 45°F, and your varnish won’t cure properly, causing headaches later on. Then there’s humidity impact: high humidity can dull the shine, while too low slows down drying, making us wait longer than we’d like. We also want to avoid direct sunlight and strong winds because they mess with even drying, sometimes causing wrinkles or runs. So, we aim for a clear, dry day with moderate humidity, a little patience, and perhaps a late morning start—trust me, your boat’s finish will thank you!
Preparing Surfaces Before Varnishing
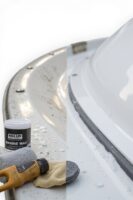
Preparing the surface before varnishing is a step we can’t afford to skip if we want that smooth, long-lasting finish. First, surface cleaning is key—dust, dirt, and oils can sabotage varnish adhesion. We use acetone or special thinners to wipe away oils and residues like wax or mildew. Sanding follows, starting coarse to remove old varnish, then fine for a silky-smooth base. And let’s not forget moisture prevention—filling cracks and sealing the wood keeps water out, which could otherwise cause the varnish to fail. Dry, sealed surfaces make all the difference, right? Before applying varnish, a final solvent wipe removes sanding dust and fresh contaminants. With patience and this prep, we’re setting our boats up for a varnish job that’ll impress for seasons to come. Additionally, proper preparation is crucial for enhancing adhesion of the new finish, ensuring a shiny, durable result.

Marine-Tex is designed for filling, bonding and rebuilding wood, fiberglass, ceramic, glass, metal, masonry and many plastics. Packaging may Vary

PROFESSIONAL GRADE - When it comes to your boat, you don't want to take chances. Our marine adhesive provides watertight bonding and sealing for fiberglass / gelcoat, wood and more. Creates watertight, weather-resistant, UV-resistant seals. Holds up well during vibration, movement and shock. Gloves included.

Recommended for filling and fairing applications above and below the waterline
Number of Varnish Coats Needed
When it comes to varnishing your boat, the number of coats you apply can make all the difference between a finish that lasts and one that flakes off too soon. For bare exterior wood, we usually recommend at least nine thin coats to guarantee proper protection and varnish longevity. Interior surfaces need fewer—about seven coats—since they face less wear. Got deep-grain wood like oak or exposed parts like transoms? Aim for up to twelve coats. Different coat types, like spar or polyurethane, affect how long your finish lasts, too. Once you’ve built that solid base, one maintenance coat each year typically keeps things shiny and durable. Wondering if that’s enough? Consider your boat’s environment—more UV means more coats—and remember, the right number of coats saves you time and keeps your boat looking sharp longer.

Improves solvent-based paint and primer flow when applying by brush or roller

Ideal for use on fiberglass, wood or metal surfaces above the waterline

UNPARALLELED SHINE & PROTECTION - Achieve a brilliant, mirror-like finish while guarding against UV rays, salt, marine elements, and oxidation
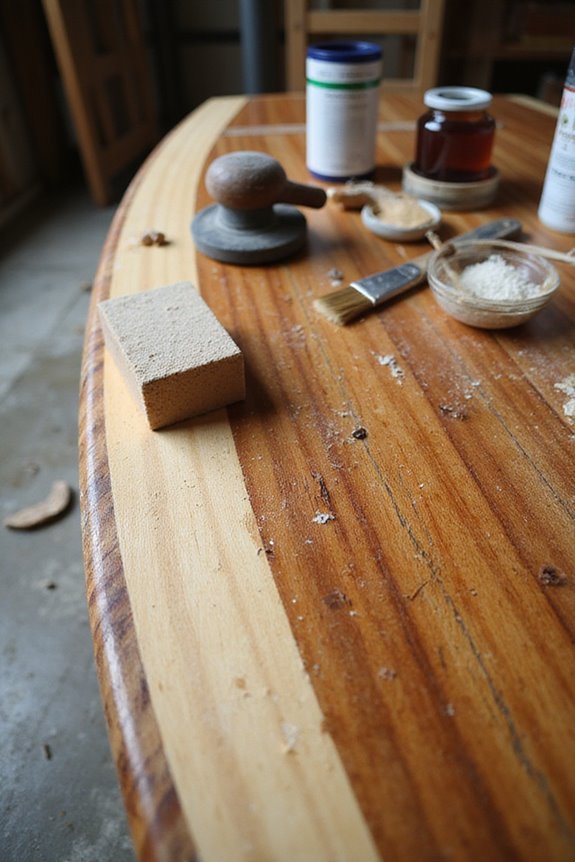
Sanding Techniques Between Coats
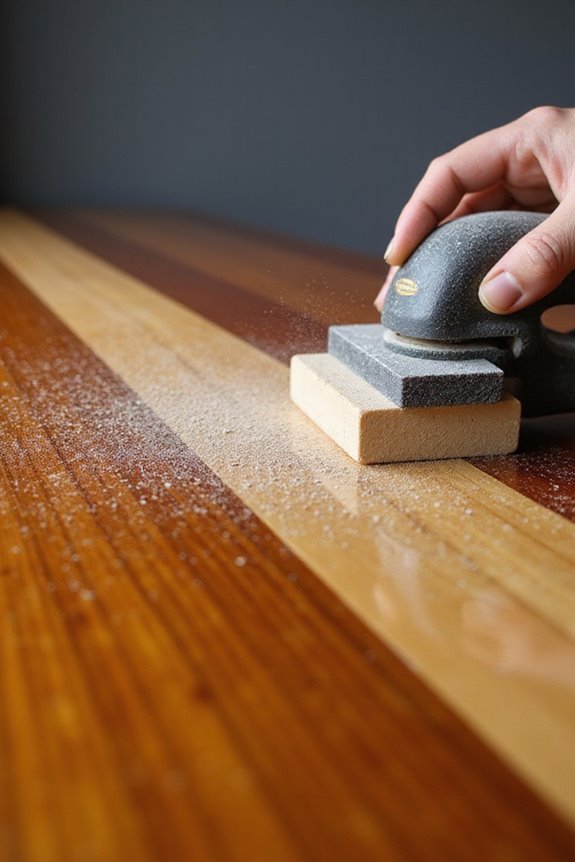
Although varnishing might feel like a straightforward process, sanding between coats is where a lot of the magic—and patience—happens. Choosing the right sanding techniques and grit selection is key. We usually stick with 220 to 320 grit for hand sanding, which strikes a good balance: not too coarse to leave marks, not too fine to slow down smoothing. Ever tried sanding curves? A flexible sponge pad saves you from accidental burn-throughs and keeps the finish flawless. For flat surfaces, a firm sanding block helps level out any ripples. After a few coats, a bit more thorough sanding evens everything nicely. Remember to clean off dust with a tack cloth before the next coat — no one likes surprises under a fresh layer! Additionally, using a varnish with maximum UV resistance will help maintain the finish’s durability over time. We’re in this together, making that varnish as smooth as glass.

Proudly made in the USA
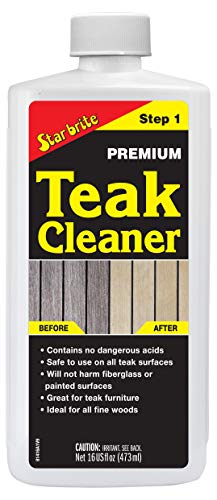
REVITALIZE YOUR TEAK - STAR BRITE Premium Teak Cleaner effortlessly restores the original charm of weathered and gray teak furniture or boat decks without the need for sanding or pressure cleaning

Absorbs up to a liter of water
How to Prevent and Fix Varnish Sags

Even the most careful varnish application can lead to those pesky sags that look like tiny drips running down your masterpiece. Don’t worry, sag prevention starts with thin coats and steady brush strokes—especially on vertical surfaces where gravity loves to mess with us. Keep your varnish load light and brush away from wet edges to avoid overload. Temperature control between 55°F and 65°F helps varnish flow evenly, reducing those unwanted sags. But what if it happens? For sag correction, wait until the varnish fully cures, then gently scrape and sand the sagged area before reapplying. It’s like giving your varnish a little tune-up. Together, these steps keep your boat’s finish smooth and dripping-free—because nobody wants a varnish drip party on their deck, right?
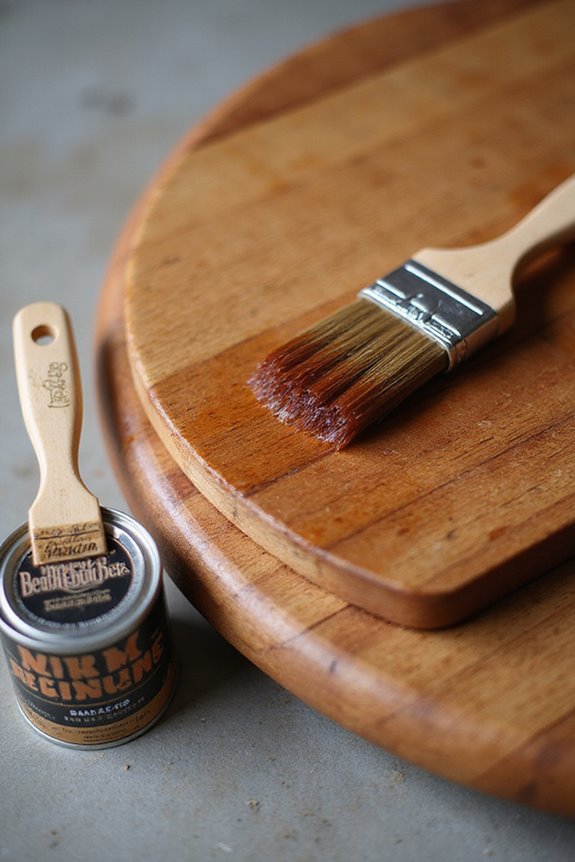
Proper Brush Selection and Usage
Choosing the right brush for varnishing your boat isn’t just a small detail—it often makes all the difference between a smooth, professional finish and a frustrating, streaky mess. When it comes to brush types, natural bristle brushes are our go-to for traditional, solvent-based varnishes—they hold more varnish and spread it smoothly. For water-based varnishes, synthetic brushes like nylon and polyester keep their shape without swelling, which is a game-changer. Oval-shaped brushes are fantastic for top-coats, holding plenty of varnish for that even flow we all want. Remember, the bristle materials matter—you don’t want foam brushes, as they’re just not up to marine tasks. Investing in quality brushes with rust-resistant ferrules not only improves your finish but saves you from frequent brush shopping. Who knew picking a brush could be this important?
Repairing Scratches and Gouges
When it comes to repairing scratches and gouges on our boat’s varnish, the first step is a careful assessment—we want to know if we’re dealing with a light scratch that just needs polishing or a deep gouge that demands some serious filling. Our scratch assessment helps us decide the best approach: light scratches often disappear with some gentle wet sanding and buffing, while deeper gouges require gouge filling using marine-grade fillers. After removing any loose varnish and sanding around the damage, we feather edges to blend repairs smoothly. Then, we seal bare wood areas before applying new varnish coats, each extending slightly beyond the last to avoid noticeable seams. With patience and the right steps, we bring our boat’s finish back to life, looking sharp and ready for the next voyage.
Dust and Debris Control During Varnishing
Since dust is basically varnish’s worst enemy, managing it carefully during the varnishing process is a must if we want that smooth, glassy finish to last. We start by prepping our workspace meticulously, vacuuming and wet-mopping floors to keep airborne contaminants in check. Have you tried using a tack cloth? It’s perfect for picking up those stubborn fine dust particles without messing with previous coats. Dust suppression isn’t just a fancy phrase—it means practical steps like covering the boat with a polyethylene tent and scheduling varnishing during low-airflow times. Even our clothes can betray us by shedding dust, so staying clean is key. With these tips, we can enjoy a varnish job that’s both beautiful and durable—no dust bunnies invited!
Environmental and Safety Precautions
Although varnishing your boat can be a rewarding project, it’s essential we keep environmental and safety precautions front and center. Have you considered how a simple spill might impact local waterways? That’s where spill containment comes in handy—using absorbent materials like sand or vermiculite can save us from messy, toxic situations. Varnish fumes aren’t just stinky; they pose real health hazards such as dizziness or allergic reactions, so wearing gloves and working in well-ventilated areas is a must. Let’s not forget varnish is highly flammable, and those vapor clouds can be dangerous. By taking these steps together—proper disposal, protective gear, and spill readiness—we protect not just our boats but also the environment and ourselves. After all, who wants a varnishing adventure turned hazardous?
Routine Inspection and Touch-Up Tips
Before diving into any varnish touch-up, we’ve got to become detectives—careful inspectors of our boat’s varnished surfaces. Grab your inspection checklist and start looking for “blown” varnish—yellowing or milky spots—that tell tales of sun or moisture trouble. Don’t forget to check high-wear areas like rails for scratches or cracks at edges, feeling for any roughness by lightly sanding. Mark trouble spots with tape, so we don’t lose track during our work. When it’s touch-up time, applying thin coats of varnish-thinner mix helps smooth over minor scratches, while multiple layers restore thickness for a seamless look. Using proper touch up techniques—like brushing vertically and sanding between coats—keeps our finish looking sharp. Remember, a little care now saves us from big headaches later!
Frequently Asked Questions
Can Varnish Be Applied Over Old Paint Without Stripping?
Like trying to fit a square peg in a round hole, varnish adhesion just won’t work over old paint. We’ve learned that paint compatibility issues mean we must strip old layers for lasting results and true belonging to quality finishes.
What Type of Thinner Is Best for Varnish Thinning?
It is understood that choosing the right solvent types matters, so let’s stick to manufacturer recommendations. Using proper thinning techniques—like slight thinning for brushing or spraying—helps guarantee smooth finishes and keeps us all in the varnish care community.
How Long Does Varnish Take to Fully Cure?
When we talk about cure time, remember varnish layers need 5 to 7 days to fully harden. Each coat’s drying affects the total cure, so patience helps us all get that perfect, durable finish together.
Is It Safe to Varnish in Direct Sunlight?
We don’t recommend applying varnish in direct sunlight since high varnish temperature causes uneven drying. Even with UV protection, sunlight can trap solvents and cause a sticky finish, so it’s best to varnish in shaded, cooler conditions.
Can I Use Spray Equipment Instead of Brushes for Varnishing?
Back in the day, knights relied on swords, and today, we lean on spray application benefits like quicker coverage and equipment compatibility. We’ll embrace spraying together if we’re ready for its learning curve and cleanup demands.